We’ve been out of town travelling and in that time we’ve had two birthdays in the family. Thought I’d share our vegan, gluten free birthday cakes with you. This is how Mama makes yummy birthday cakes with no eggs, no milk, no sugar and no flour! (Isn’t that a feat!)
Birthday cake #1 – Gluten Free Pineapple Upsidedown Cake.
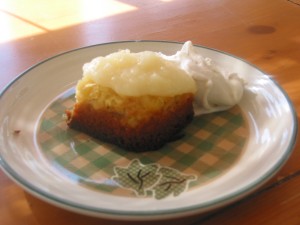
Pineapple Upsidedown Cake
I used the new Betty Crocker mix for gluten free white cake as a base for this Pineapple Upsidedown Cake. I began by draining a can of crushed pineapple and reserving the pineapple juice from the can. I followed the direction on the back of the box, except I substituted this pineapple juice for the water the directions call for and I also substituted 2 Tbsp honey for EACH egg required. Then I spread the drained, crushed pineapple on the bottom of the pan, poured the cake batter over top and baked it according to the directions! (We were visiting my mother in law at the time. She lives at a high altitude and her oven is tempermental so you can see in the picture that the cake edges got a bit dark… but I think this wouldn’t have happened in most ovens. ) Next I made a pineapple topping by putting another can of pineapple (liquid and all) into the blender with 4 Tbsp corn startch. I blended it all, then cooked that over the stove until it thickened and placed that on top the cake. The “ice cream” beside the cake is simply frozen bananas run through a champion juicer! Yummy!
Birthday cake #2 – Pina Colada Cheesecake
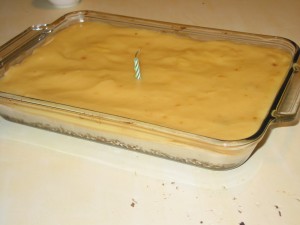
Pina Colada Cheesecake
My pina colada cheesecake is still a work in progress… Frankly, the crust wasn’t very good so I won’t post the recipe for it… The next time I do this I think I will just skip the crust altogether and make “cheesecake squares” since it’s the cheesecake and the topping that we all liked.
Here’s how to make it: In the blender whiz together 4 cups soft tofu, 2-3 tsp orange extract, 1/2 tsp salt, 1/2 cup honey, 1/2 cup oil, 2 Tbsp lemon juice. Pour into an oiled casserole dish. (Ok, you’re really supposed to pour it over a granola crust, but I don’t have a good gluten free recipe for one of those yet!). Bake at 350 degrees for 20 minutes. Don’t be concerned if it doesn’t look finished after 20 minutes… It will firm up as it cools.
For the topping, pour 1 can pineapple into the blender (juice and all) with 1/2 can coconut milk and 4 Tbsp corn starch. Blend, then cook on the stove until thick. Let it cool somewhat (just so it’s not piping hot when you spread it over the tofu). Spread it over the tofu and chill the cheesecake! Voila!
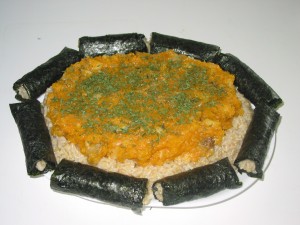
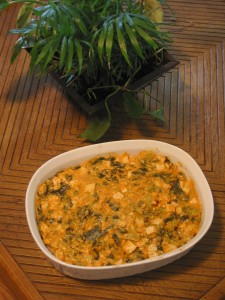 When I was growing up my mother used to make a vegetarian (not vegan) version of beef stroganoff that was so tasty! I started craving it during my most recent pregnancy and got the recipe. Tonight I made some changes to the recipe and we had delicious Broccoli Seaweed Stroganoff (Vegan and Gluten-Free, of course!). This picture is a dish that’s headed over to a neighbour’s house. And below is how I did it!
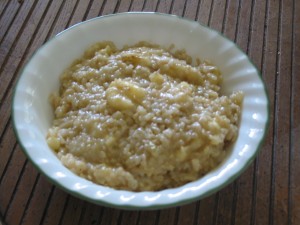 Since our family has transitioned to a vegan-gluten-free lifestyle, the single food that I have probably missed the most is oatmeal. There’s nothing like a big steamy bowl of oatmeal for breakfast on a cold wintery morning. I cheated last winter and made oatmeal just for myself a couple of times (since I’m the one member of the family who is not gluten intolerant!), but I feel bad for the children who are stuck eating yucky old cream-of-brown-rice or corn-mush. It’s just not the same.
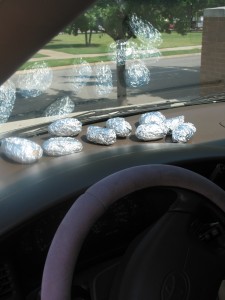 In food related news, we’ve been having lots of picnics. Now that everyone is vegan and gluten free, picnics
  are big deals that take a lot of planning! Gone are the days of peanut butter and jelly sandwiches. One particularly rushed day I stumbled across a new picnic idea which turned out to be a big hit! We had eaten baked potatoes the day before and so I grabbed the leftovers as we headed out the door. We had to stop at the library just before going to the park and so I decided to harness energy from the 108 degree Texas sun… Here are my baked potatoes warming up in our make-do home-away-from-home-oven. Yes, that is my van dashboard! Anybody passing by in the parking lot must have looked twice, but by the time we got out of the library our potatoes were nice and warm! Yummy! Then, I let the children peel the wrapper back and eat them as if they were ice cream cones! Big Hit!

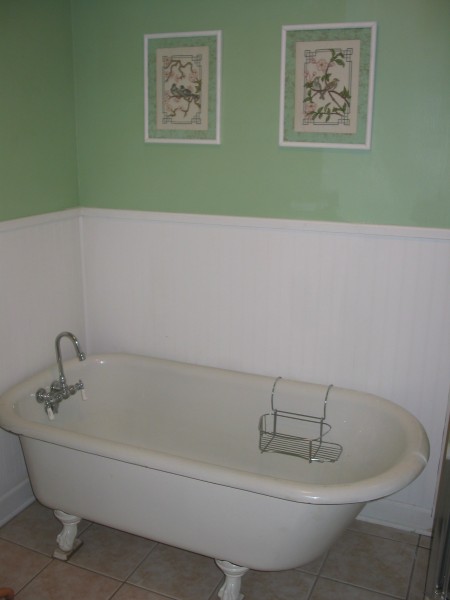
 all the shower base from the old shower. We had always thought that a clawfoot tub would be perfect in an older home like this, but decided against installing one because clawfoot tubs are so expensive! That is, we decided against it until one night when my husband was cleaning out the junk left behind in the sheds by the previous owners. Guess what he found! In one shed he found a clawfoot tub with no feet! In another shed he found the feet! The tub needed a good cleaning, but it didn’t need to be redone. He just painted the feet and it looks great!

